Factory settings
One of the main reasons why your newly delivered acoustic guitar requires the string action lowering is because most mass produced acoustic guitars are manufactured in the Far East. The temperature ranges upon transport can cause quite a bit of distortion within the guitars wooden body, thus when you receive your mail order guitar the chances are the neck will still be as per the factory setting and almost flat to compensate for the strings tension.
The truss rod and the nut are not covered in this advice, reason being; standard factory string height settings are usually as follows;
E6 – 2.38mm (6/64 in)
A5 – 2.28mm (5.75/64 in)
D4 – 2.18mm (5.5/64 in)
G3 – 2.08mm (5.25/64/in)
B2 – 2.03mm (5.15/64in)
E1 – 1.98mm (5/64in)
The truss rod should not be used to adjust the string action, its job is to straighten the neck and compensate for the upward pull of the strings. If the action is too high at the nut, it is the nut that needs adjustment. If the action is too high in the middle and upper positions, it is usually the saddle that needs to be lowered, this is what we are going to cover in the following easy steps on lowering acoustic guitar action. It will save you quite abit of money, for those in the U.K. lower your utility bills here, The Utility Warehouse works for me.
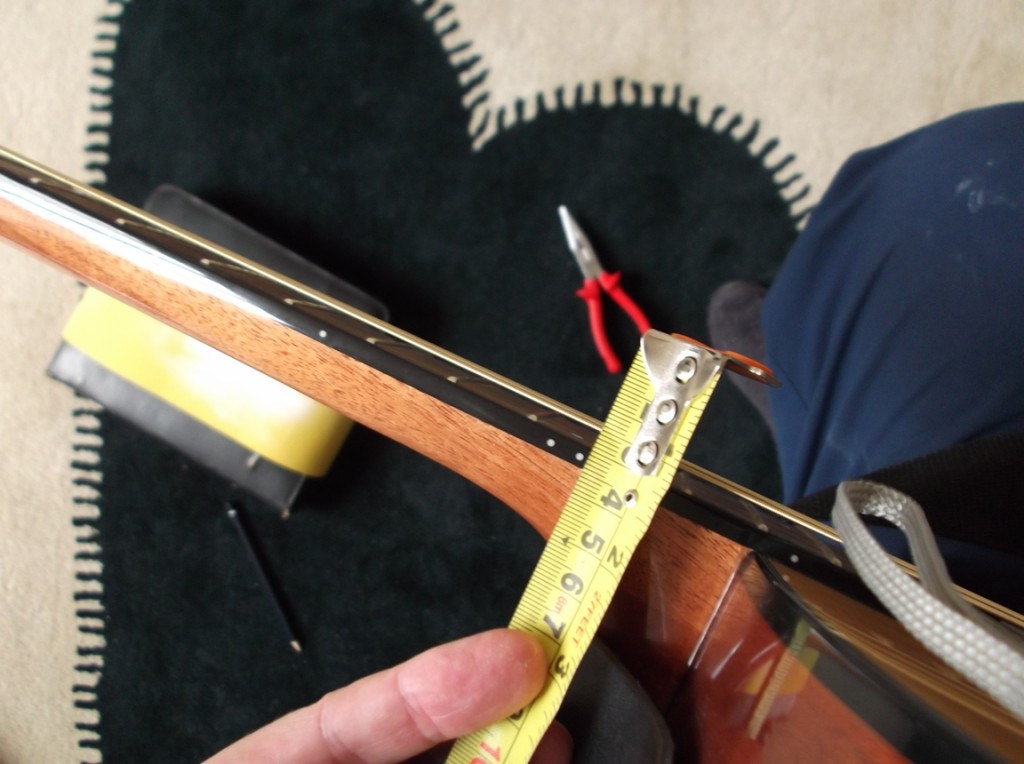
Measuring the string height
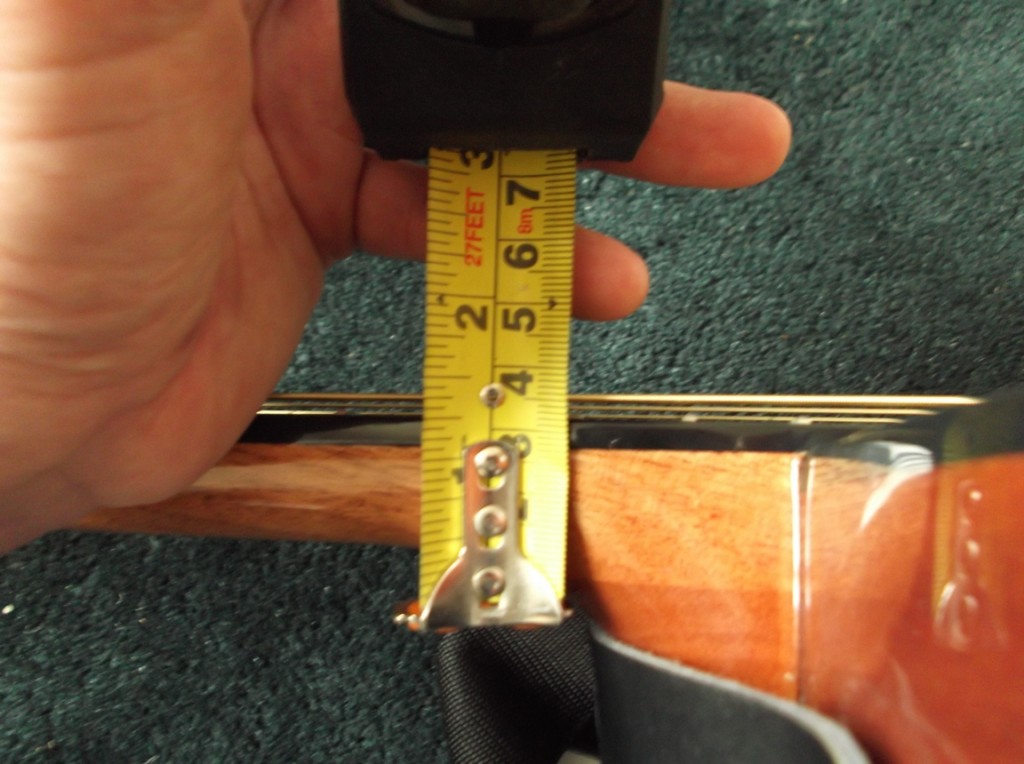
The guitar in the photos had string height of 4mm at the 14th fret on the E 6st string, this needed to be reduced down to as close as possible to 2,38mm, if you find that you can not remove enough material then it is possible you might require a new saddle, but 3mm is getting close, very nice and easy to play.
Tools required
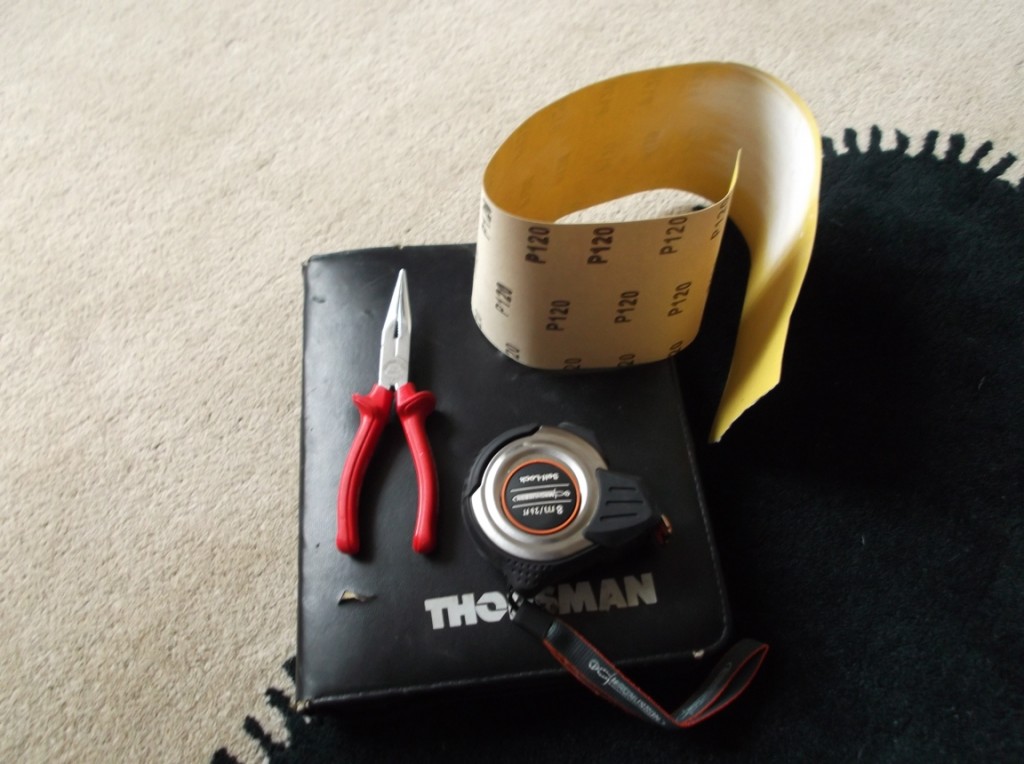
Very simple tooling; long nosed pliers, tape measure or ruler, pencil, and sandpaper. The chosen sand paper grit is P120 as it smooths off pretty quickly as soon as you start sanding the underside of the saddle. To fine a grain you might feel like your not getting anywhere despite all your sweating efforts.
Strings
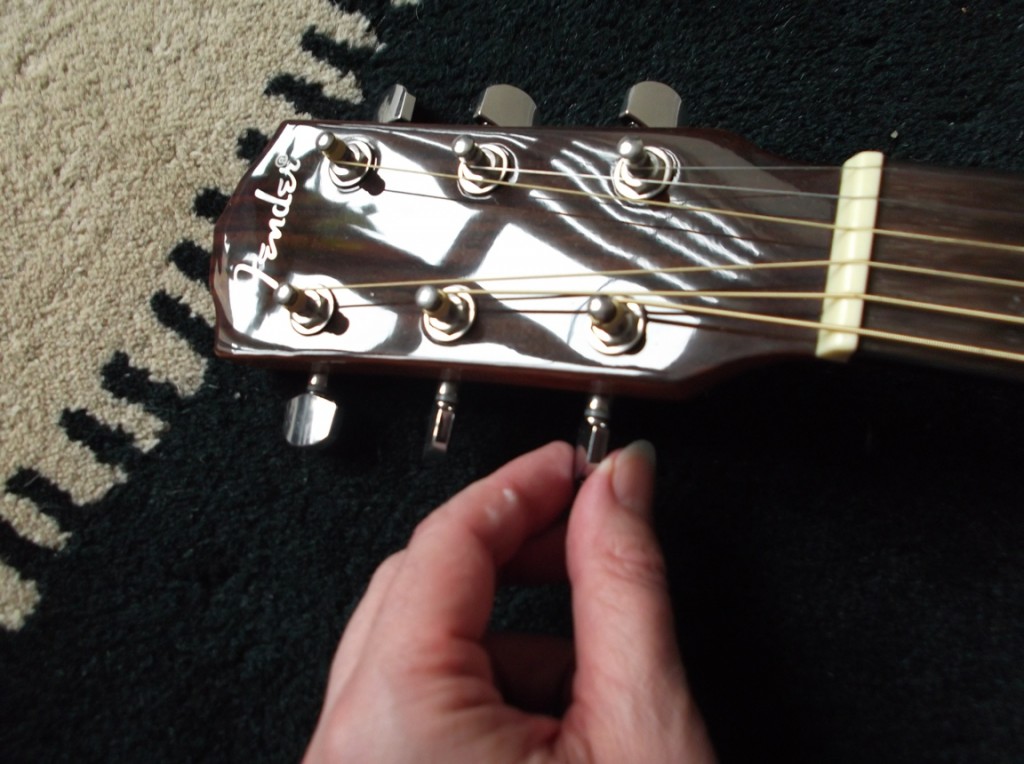
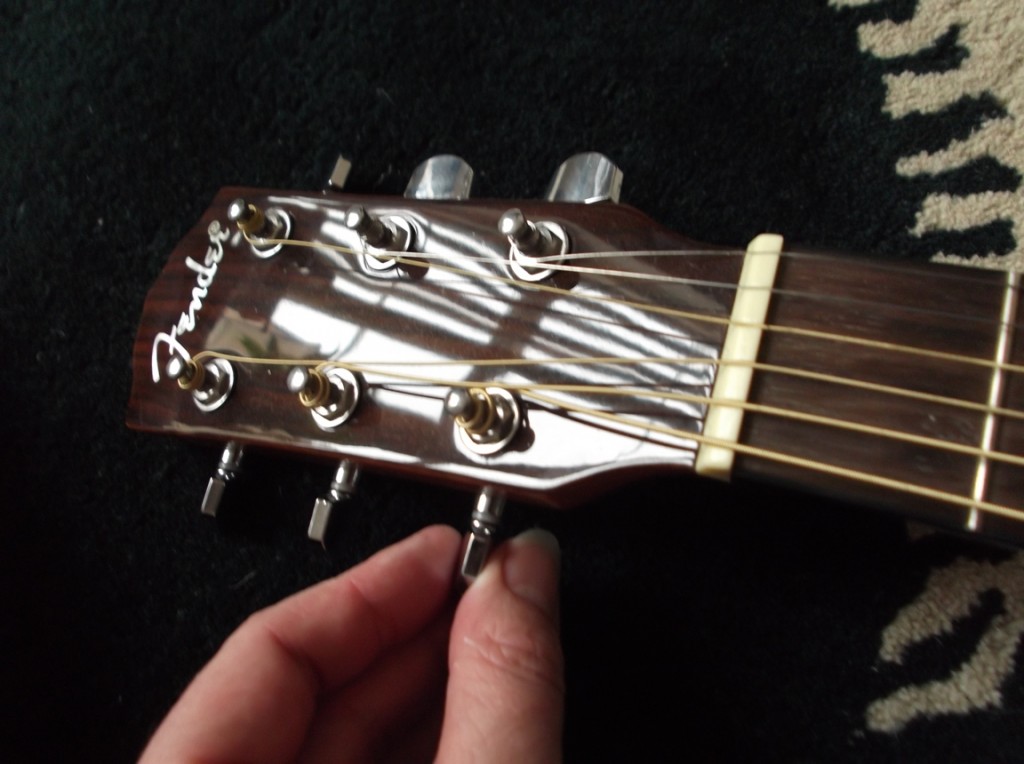
Loosen the strings as far as possible, you do not need to remove them but they do need to be extremely slack so you can lift them high enough to remove the saddle.
If you are feeling flush with a new set of strings then do all the adjustments before fitting the new strings as you really do not want to be tightening and loosening them a few times.
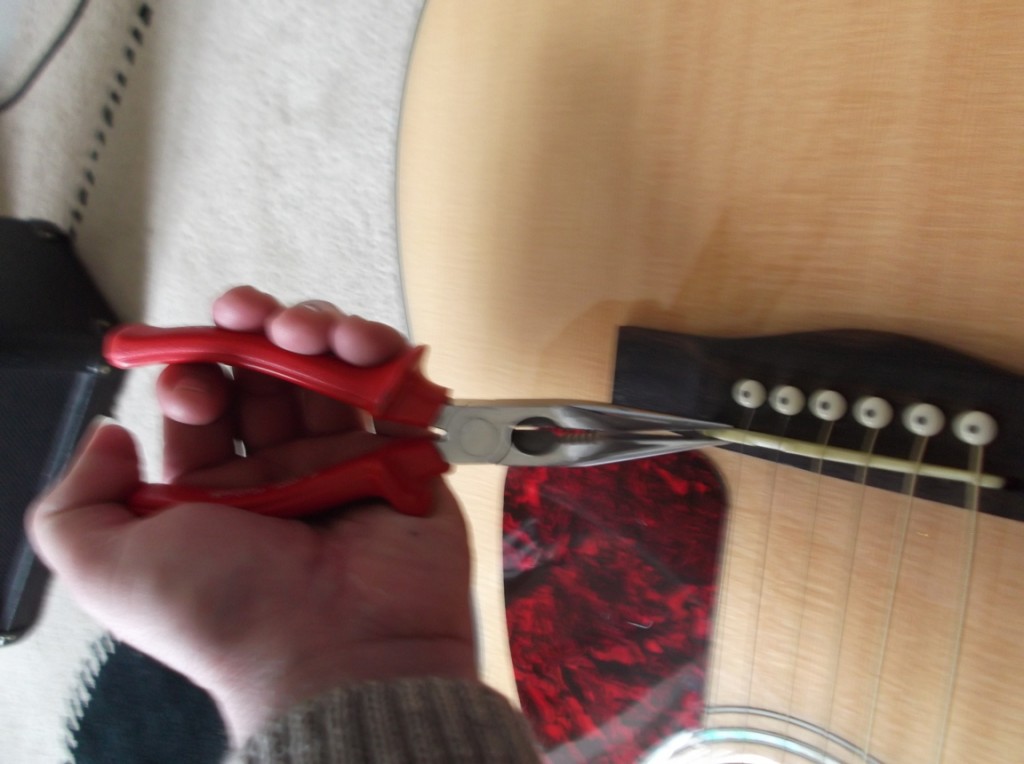
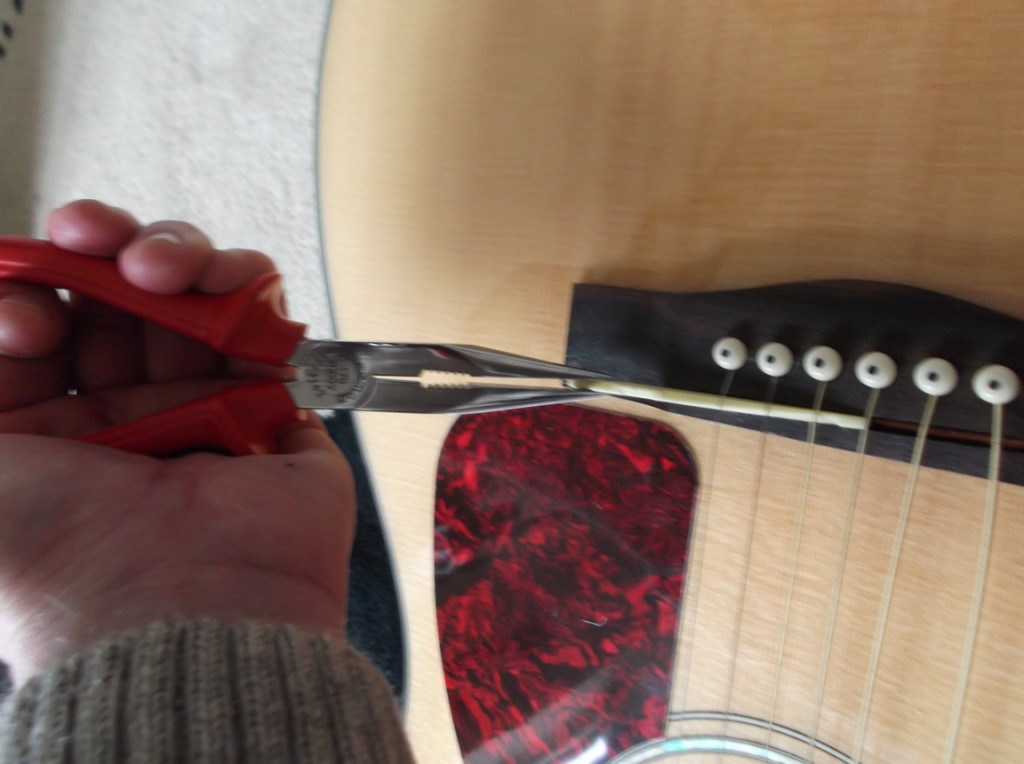
Long nosed pliers removing saddle
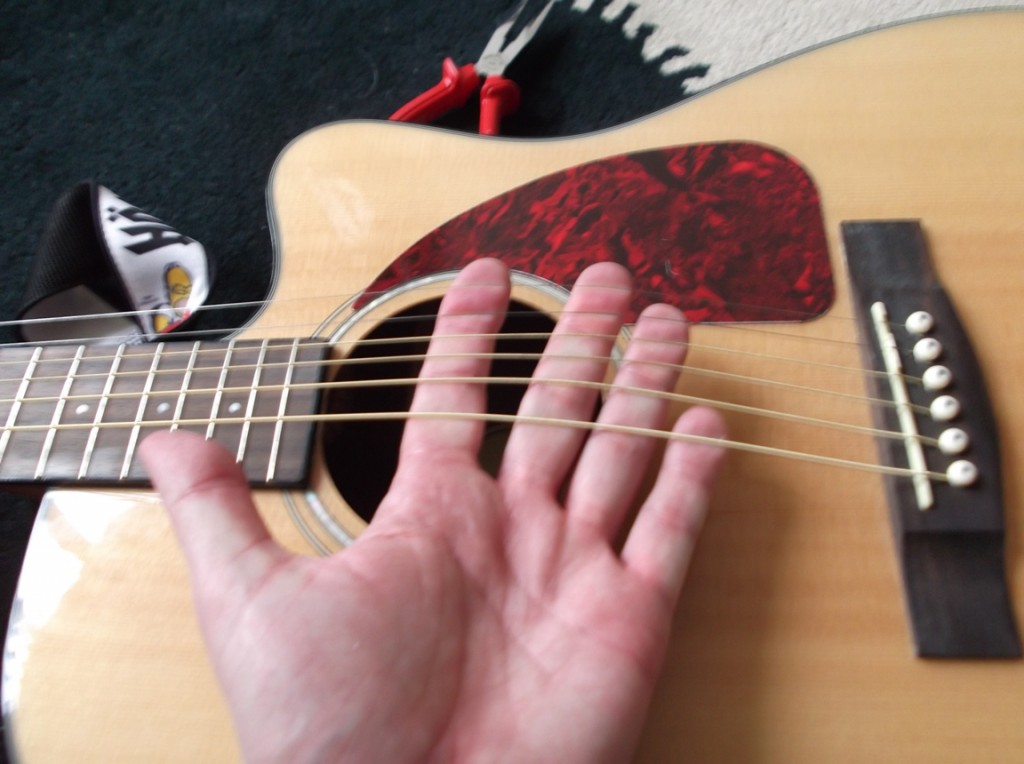
When the strings are loose enough, at the saddle carefully lift them as high as possible, care should be taken so as not to cause any kinking.
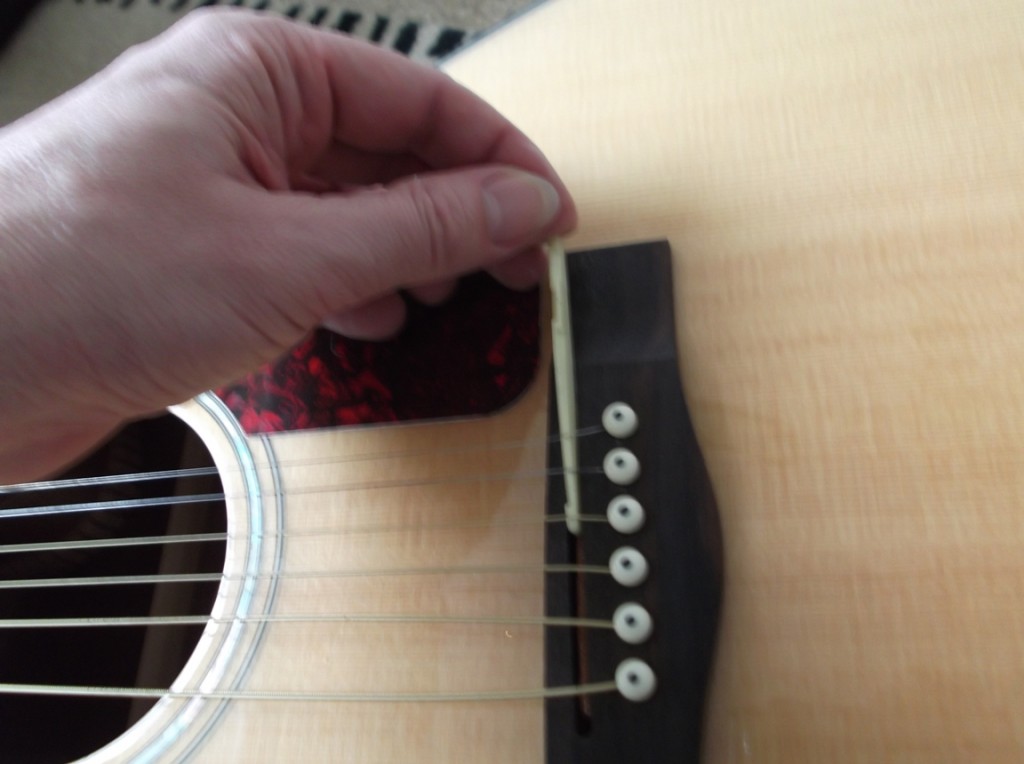
Using the long nose pliers carefully remove the saddle, if it feels tight its important not to try wiggling it out, straight firm tugging will get it out.
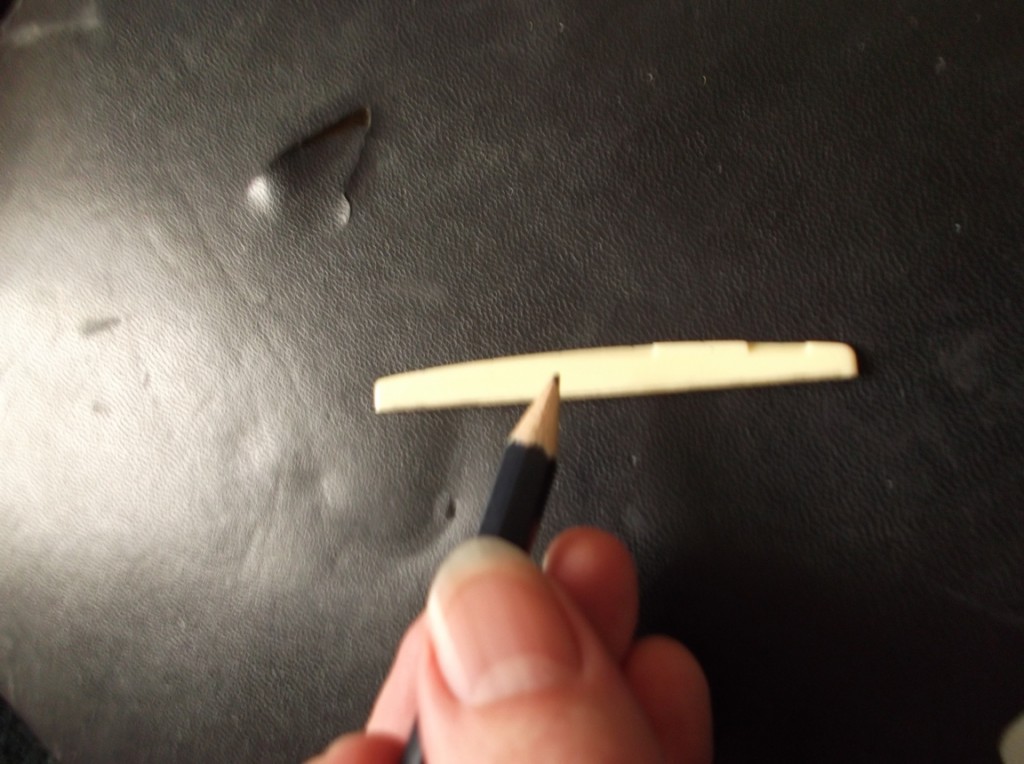
Pencil mark
Once you have the saddle removed use a straight edge to mark the base of the saddle, it would be best removing a little less rather than a little more, too much and the saddle being too low could cause string buzz, time and patience is required at this stage, you will feel a joy of achievement upon finishing.
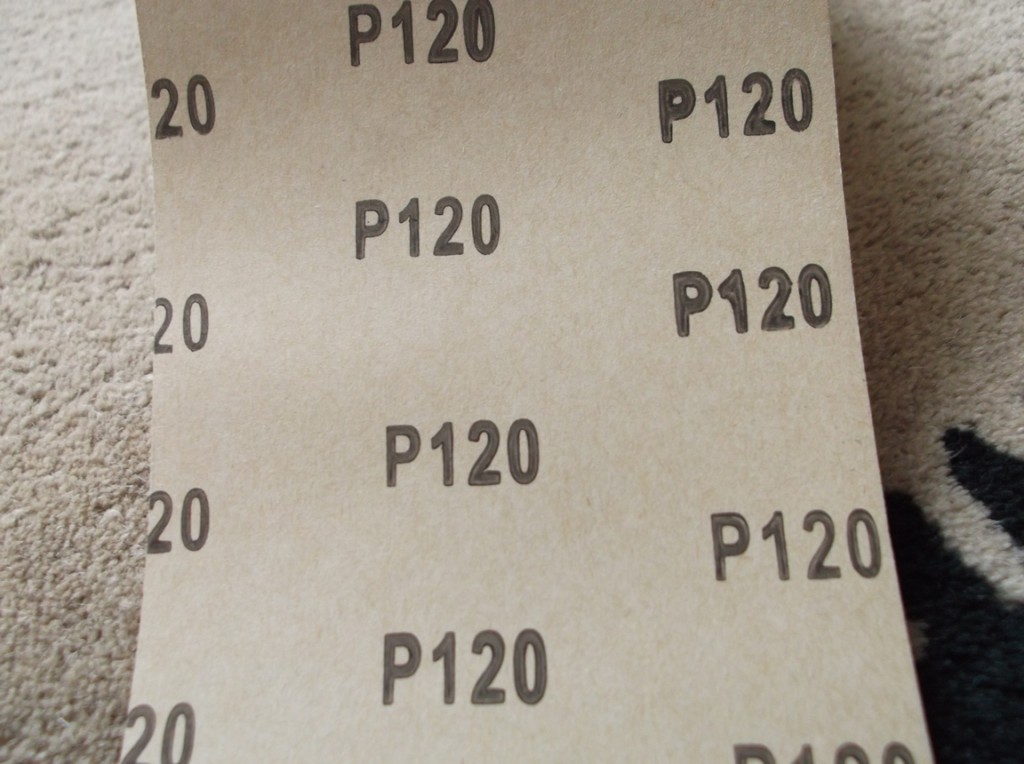
Sandpaper grade
Really the choice is yours but a mid grit ‘P’ is much easier to use, to lower grade and chunks will be taken out of the saddle, because it would be harder to use the chances are the base of the saddle will end up being curved. To fine then it will wear in no time leaving you panting and sweating.
Sanding down the saddle
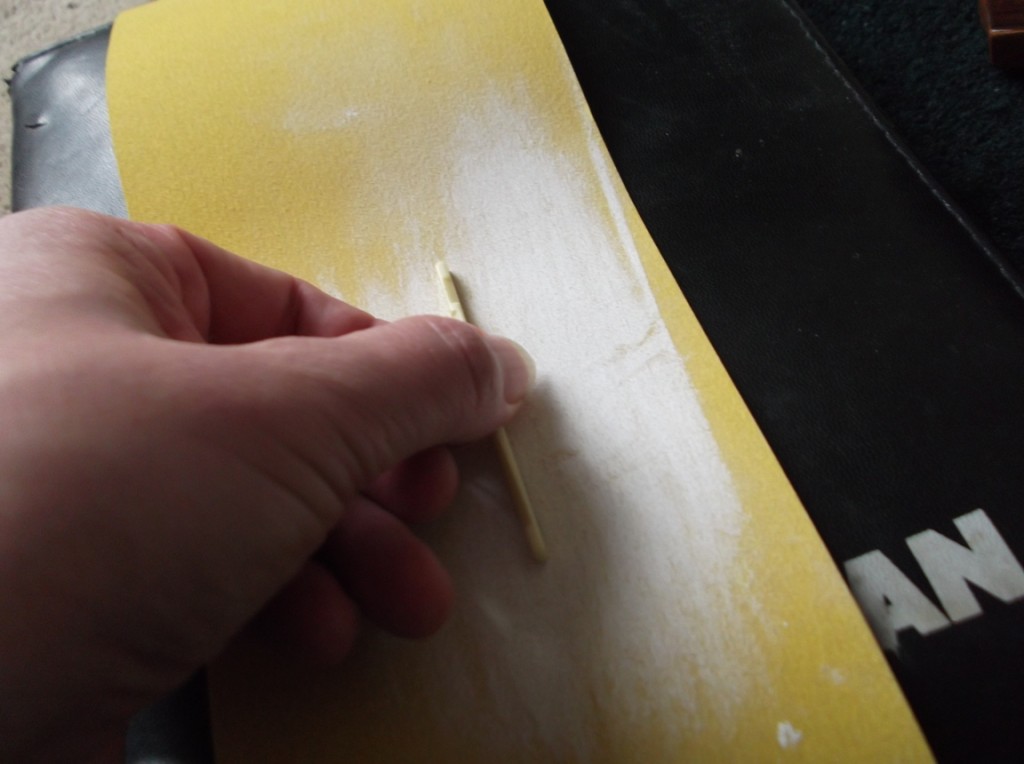
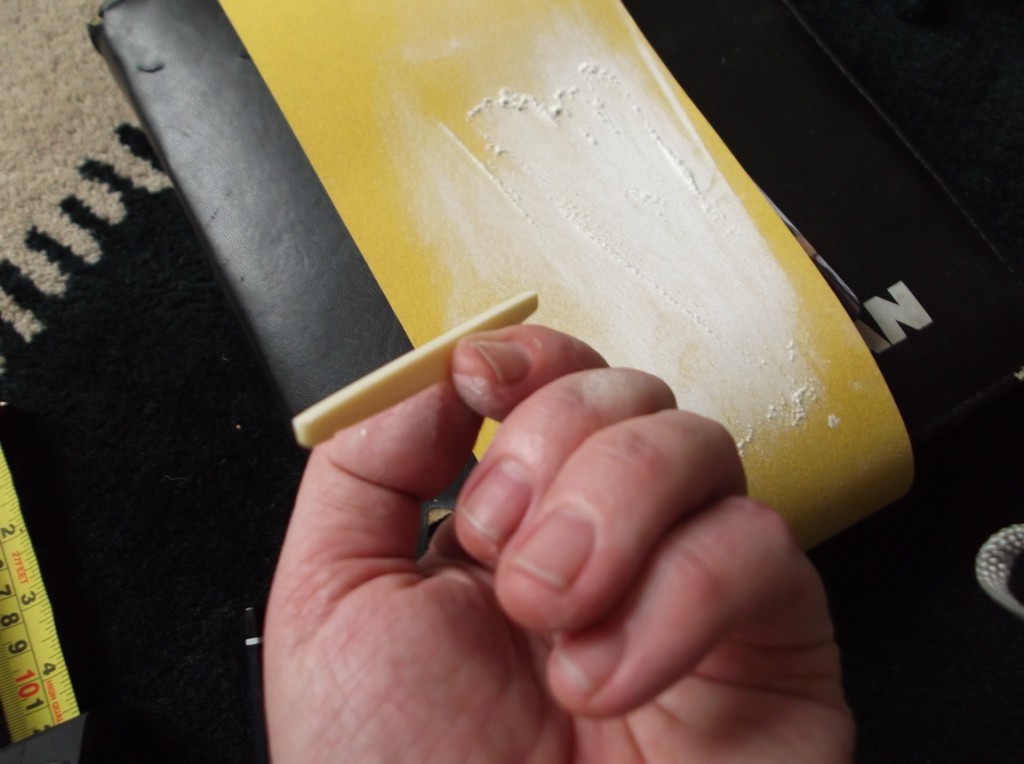
Using a flat surface – like a book – place the sand paper onto it, fold both ends under the book to hold it in place. Carefully hold the saddle with your thumb and forefinger, use your index finger to press down on the saddle.
Start nice easy motions of to and fro sanding the saddle, check every 20 or so movements that it is being sanded down straight, also keep your fingers off the grit surface or you will remove some skin. Once the saddle is down to the pencil line its time to try it out.
Replacing saddle
Lifting the strings replace the saddle back correctly, remember to check the saddle is fit the same, as it could be quite easy to slot it back in facing the wrong way, this will cause problems with the intonation, again care must be taken not to kink any strings.
Tighten strings
A string winder could be helpful, it will certainly tighten the strings much quicker, otherwise bring the strings back into tune.
Measure
All in tune and tensioned then measure the strings at the 14th fret, it’s more important that you feel comfortable rather than having the strings at 2.38mm, if you are near to 3mm then that’s pretty good. Go have a strum and find your way around the frets, if you have managed to drop it a millimetre or two the ease on the fingers is fantastic.
Start again if necessary
If after this it still feels too high have a look to see if the saddle can be dropped further, if it can not and the neck is OK then that’s as good as your going to get, as mentioned earlier most mail order guitars are now manufactured in the Far East, they are usually set up to the 2.38mm bottom E at the 14th fret but hot humid manufacturing sites and then shipped all over the world does cause problems to the body more than the neck.
Follow this very simple and easy guide you will not go much wrong. A sense of achievement will overcome you after your action lowering task, give yourself a very welcome pat on the back and enjoy your new lease of acoustic playing. You have now saved on restoring string height on your acoustic, see how you can also lower your utility bills here, The Utility Warehouse works for me.


167 responses to “How to lower the action on acoustic guitar explained easy”